How I made my Witch cape in less than an hour
By Jeanbeltran
//
halloween,
Halloween Party 2010,
how I made my witch cape in less than an hour,
witch cape
// No Comments
So, it's Halloween fever and parties are in every corner. What else would be in our minds when this season comes? Of course, those scary stories, bloody and cold bodies and gross costumes. Well, this year I joined a Halloween Party for the very first time and made my own Witch Cape.
There's no other simple attire or shall I say costume than the Witch so I decided to be wearing one. I was able to buy the witch hat and the fake nails. I don't have a broom though, I don't kinda like the thought of holding one. I looked on the prices of those capes and they were all expensive so I thought I can make one, I thought it was easy. I bought a four meter black cloth, two meters for me and for James.
I was not surprised, it was really easy indeed. I'll gonna show you how I made it in just an hour.
First, I prepared the things needed:
a pair of scissors
thread and needle
and of course the cloth
I also had used a chalk and a ruler in measuring the hood for the cape. So everything is all set up now
Step 1: Using the ruler and the chalk, I started it with measuring a 30"x15 rectangle out of the cloth which was laid on the floor. Cut it out and this is the cloth for the hood.
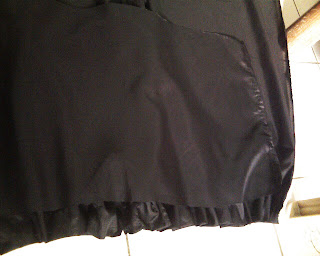
Step 2: I hemmed the edges of the hood, the photo above shows a hemmed hood already. The rest of the cloth was set for the cape, I want it to be longer so I did not measure it anymore, anyways, it was two meters long.
I am not a pro in stitching... lol, look at my running stitch...
Step 3: I loosely straight stitched the about 1/2" from top edge of the cloth for the cape, this was the easiest part though. After which I scrunched the cloth by holding the end thread while evenly gathering the cloth along the thread until the edge of the cape is the same length as the hood.
Step 4: I placed the cloth as is and the hood on top in a position where the hemmed edges are shown, I then stitched them together, take note, I only used the Running Stitch the whole time.
almost done! this was the tiring part
Step 5: Once done with stitching the hood and the cape together, in the same position, I folder the two edges of the hood and stitched it along the new fold part.
Step 6: I stitched a ribbon-like cut cloth or rectangle cut for the cape ties. One in the right side and on the left inside the edge of the cape.
Wear it and tie it around the neck...here I am with the cape:
weeeeeh !! I loved it.!!
James and I
Evan Marie
Special thanks to DIY Fashion for the simple yet very easy tutorial!

Quotes are for sharing...
Subscribe via email
Archives
-
▼
2010
(89)
-
▼
November
(13)
- Palm Goes Urban Rock for its 7th Anniversary
- i Subscribed to Bob Ong's Books
- What Time Is It?
- Eugene's First Child: It's a Baby girl!!
- Jean for Hair Spa and James for Hair Cut
- Another Victory for the 8th time
- My User-Friendliest phone
- November's Quote
- Time out at Ice Castle's
- No More Embee Mobile Wallet ? You kiddin' me?
- A long trip to Bohol
- How I made my Witch cape in less than an hour
- My First Halloween Party
-
▼
November
(13)


