


Steps on How to Activate Facebook Timeline
The new Facebook timeline gives your Facebook page a more "magazine-like" feel and will tell the story of your life. - Mark Zuckerberg.
Aha! Since September, Facebook users have been going gaga about this new profile look and feel, yet they or shall I say we never waited for the release date instead, forced ourselves and found ways on converting the personal profile to be one. I won't deny liking it's lay out and I love the thought of having a customized profile header or cover instead. In fact, I have also shared how I converted my facebook profile to the new timeline before. Those who were techy and a bit pursuant in giving their profiles the new vibe paved their ways for the new timeline while the others patiently wait.
So today, the wait is over because those who waited can now activate their own Facebook timeline as well! How? Check the easy steps below:
1. Log in to your Facebook account of course.
Since my personal account has been already converted, I asked James if I could use his account instead and his so good he agreed.
2. Go here or open any user who had already activated their Facebook timeline.
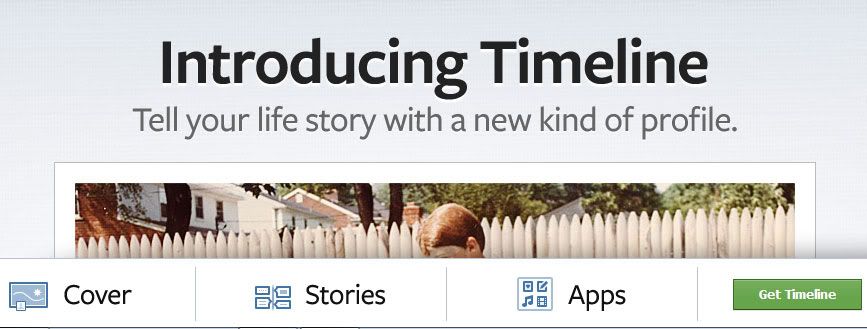
3. Get timeline.
If you visit a friend who had already activated his/her timeline, you will see the option as well, just like the one below.

Once you click on learn more, you will be navigated to the get timeline page.
4. Customize your timeline.

a. Cover appears above the profile picture, it is the first thing people see when they visit your timeline. You can choose a photo from your photos or upload a new one.
b. Views is where you'll find your info, photos, likes, apps and etc.
c. Activity Log will list all your posts and activities since you joined Facebook.
d. Story is your timeline. It's your collection of most memorable photos, events and experiences. You can scroll back to the beginning or jump to a specific time by clicking the dates along the right side of your timeline.
e. Star, Hide or Add gives you the ability to highlight what's important to your story, hide or delete those you don't want to share anymore. Some stories appear as dots, just hover over the dot to view the story.
By the way, only you can see your timeline during your 7-day preview. This gives you a chance to:
1. Review what's on your timeline now, and add or hide whatever you want.
2. Click Publish Now or wait until your timeline goes live on December 25.
I enjoy checking my friends' covers, how about you?
Love lots,


Share this article:


Thanks for this. I've always wondered how do I activate it. haha! Lazy reader. :)
Thank you so much for joining my giveaway. Goodluck! followed you too. :)
Jenn
The Pink Lemonade Girl
@jenn: thanks for the visit!!!